Martin wrote:
Wow! That is one seriously impressive set of instructions..
I see now what you mean about the fittings although I do know from experience that the key issue I had was drilling through the bag which was a right pain in the patookis.
Quote:
I think I'll have to give this glue of yours a try though with my own approach... I've just opted to change the tubing I've been using for a Tygon R3605 lab type of 1/32" ID coupled with the elbow fittings I noted in the other thread.
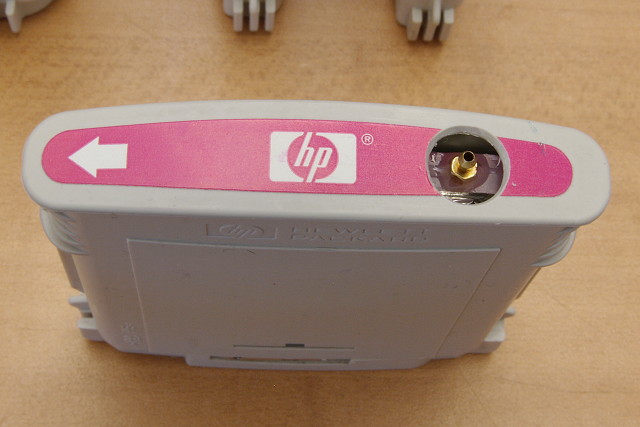
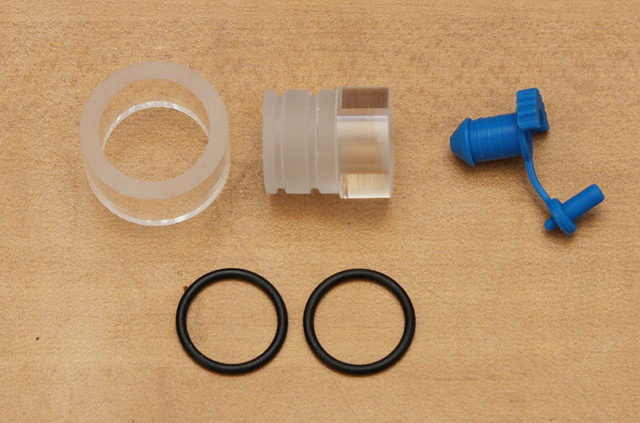
My approach is via the filling port and as you guessed it's easy enough to manage if you slice off the raised part around that area. That said the space available under there is very tight so I'm playing with a way to remove an additional 1mm of depth around the fill hole. That would allow the fitting to sit lower and gain more clearance.
Quote:
Obviously it'd be easier to explain with pictures but having seen this epoxy I think it's going to be worth a small investment as a trial run to see if it's better than the thread locker I got and do it all properly with pictures then
Now I need to find a UK supplier for that epoxy...
xiphmont wrote:
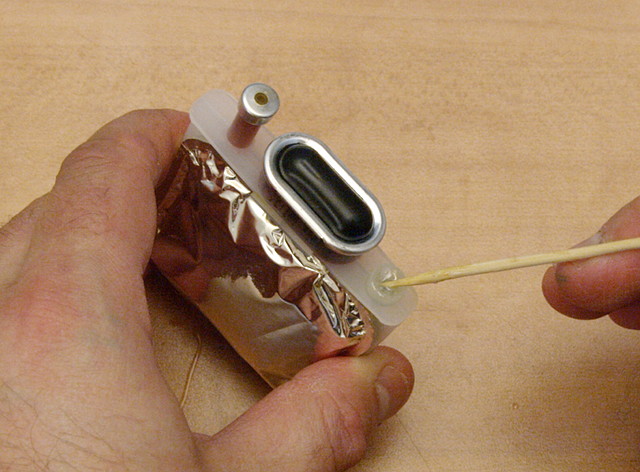
I blew into the bag through the ink port to puff it out as far as it would go, resealed it, then drilled. Doing it all very slowly by hand, I had all the control I needed, and I'm 8 for 8 so far. I should probably add that to the instructions. The pictures for that part are 'staged' so the bag had already deflated a bit.
Quote:
Quote:
My approach is via the filling port (snip)
I tested that idea out on a scratch cartridge, and even trimming flush to the frame it looked like it would be a very tight fit. If I used a striaght adapter, the tubing didn't have clearance to bend without kinking, and with an elbow, it looked like I couldn't screw it down because it would hit the pump area. If you have parts that fit, it seems logical to try.
Quote:
Quote:
Now I need to find a UK supplier for that epoxy...
The stuff was pricey, but 50ml is prbably enough to do 100 or more carts easy. If you want me to buy one and forward it on to you, I'd be happy to.

output generated using printer-friendly topic mod. All times are GMT + 1 Hour