| Author |
Message |
xiphmont
Clued up

Joined: 28 Mar 2009
Posts: 69
Location: Somerville, MA USA

|
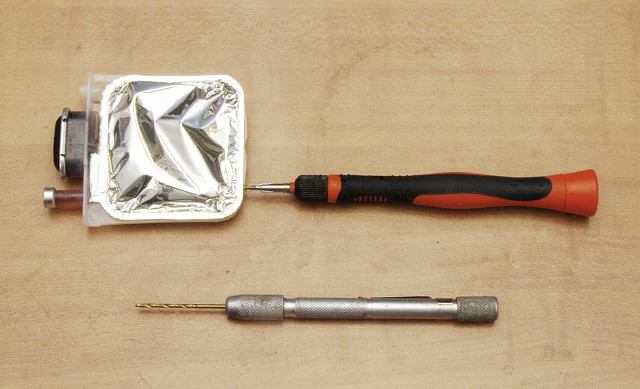
 Modifying the stock HP10/11 cartridges
Drill into the top of the frame with a #51 bit. Power tools will be way too mishap-prone; it's best to use a hand pen drill. Be careful not to damage the mylar bag when the drill finally punches through.
Also pay attention to the location of the hole. Several of the Business Inkjet printers (eg, 2200 and 2250) have very cramped ink bays and if the fitting is put on the other side the cover won't have enough room to close.

|
| Sun Mar 29, 2009 8:30 am |
   |
|
xiphmont
Clued up
Joined: 28 Mar 2009
Posts: 69
Location: Somerville, MA USA
|
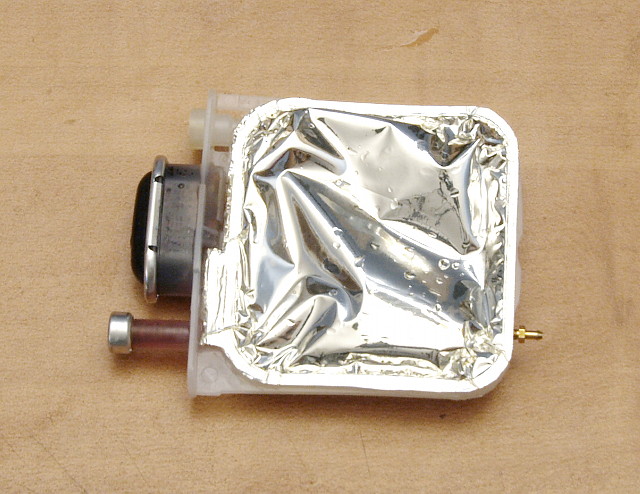
Modifying the stock HP10/11 cartridges
Tap the newly drilled hole with a #3-52 tap (matching the thread of the fitting to be installed). Again, a pen-tap is the way to go here, power tools or larger hand taps designed for tapping metal will only invite mistakes.
After drilling and tapping, there may be some debris left behind inside the bag. Rinse the inside out again, thoroughly and repeatedly!
Last edited by xiphmont on Sun Mar 29, 2009 9:16 am; edited 1 time in total
|
| Sun Mar 29, 2009 8:33 am |
|
|
xiphmont
Clued up
Joined: 28 Mar 2009
Posts: 69
Location: Somerville, MA USA
|
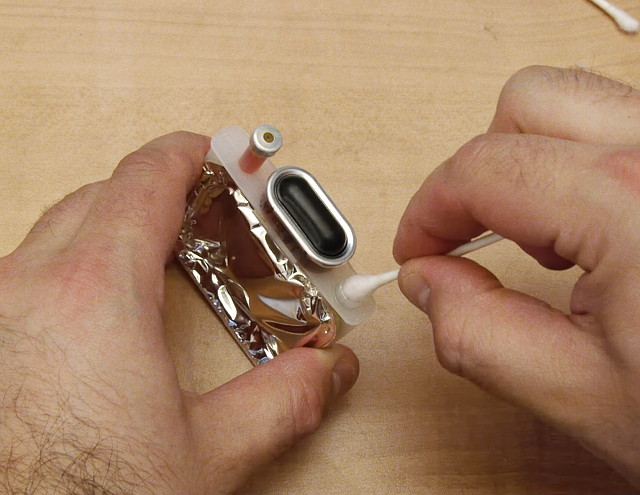
Modifying the stock HP10/11 cartridges
Test the new threads and get a feel for how the fittings screw in now before it's time to do so with the epoxy that's both a) messy and b) has a finite amount of working time once mixed. It's also likely necessary to trim a bit of plastic off the ridge along the top of the ink bag frame so that the fitting can tighten all the way down flat.
The fitting is a #3-52 thread to 1/16" barbed tubing adapter fitting (eg, McMaster part # 5454K74). It will actually get used with 1/32" tubing, but that will stretch over the slightly larger fitting fine so long as the tubing is fairly soft (eg, silicone or tygon PVC). The chosen fitting is brass because that's likely the only available choice for a threaded fitting so small.
|
| Sun Mar 29, 2009 8:41 am |
|
|
xiphmont
Clued up
Joined: 28 Mar 2009
Posts: 69
Location: Somerville, MA USA
|
Modifying the stock HP10/11 cartridges
Remove the test fitting and clean both the new threaded hole as well as the plastic inside the ink port thoroughly with isopropyl alcohol. Allow alcohol to dry completely.
|
| Sun Mar 29, 2009 8:43 am |
|
|
xiphmont
Clued up
Joined: 28 Mar 2009
Posts: 69
Location: Somerville, MA USA
|
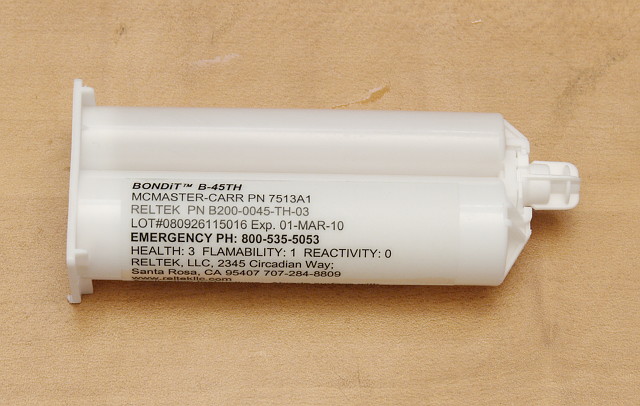
Modifying the stock HP10/11 cartridges
The real magic of this operation: glue that actually bonds reliably to polypropylene and polyethylene. Other folks here have tried cyanoacrylate 'superglues' made for PP/PE, but cyanoacylate glues are water soluable and will eventually fail if exposed to water for long periods.
I'm just trying this stuff out for the first time-- I suppose we'll see if it's worth its billing soon.
|
| Sun Mar 29, 2009 8:46 am |
|
|
xiphmont
Clued up
Joined: 28 Mar 2009
Posts: 69
Location: Somerville, MA USA
|
Modifying the stock HP10/11 cartridges
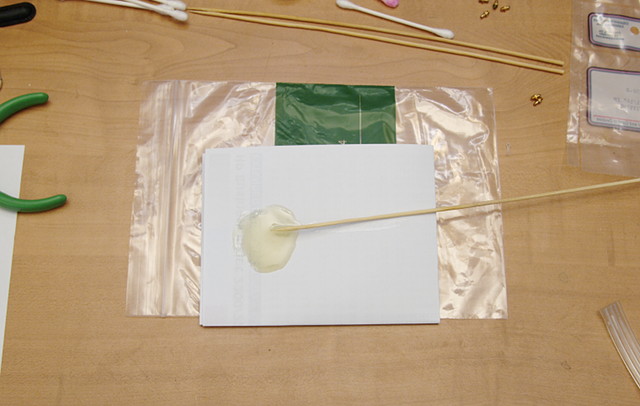
This glue is expensive and the gun-style mixer nozzles will waste a fair amount, so it's probably best to stir it up by hand. It's still a good idea to use one of the dispenser guns to get a correct 2:1 dispensing ratio though. Once mixed, the clock is ticking: 35 minutes to apply before it begins curing and it will no longer bond properly.
Application needs to be fairly precise, so toothpics (or pointed wooden cooking skewers) are the applicators of choice.
Last edited by xiphmont on Sun Mar 29, 2009 8:52 am; edited 1 time in total
|
| Sun Mar 29, 2009 8:49 am |
|
|
xiphmont
Clued up
Joined: 28 Mar 2009
Posts: 69
Location: Somerville, MA USA
|
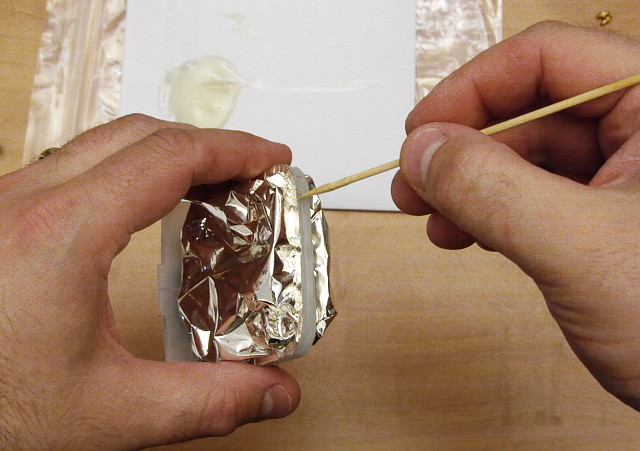
Modifying the stock HP10/11 cartridges
Apply some epoxy to the inside threads of the newly drilled hole. Use only enough to coat the threads.
|
| Sun Mar 29, 2009 8:51 am |
|
|
xiphmont
Clued up
Joined: 28 Mar 2009
Posts: 69
Location: Somerville, MA USA
|
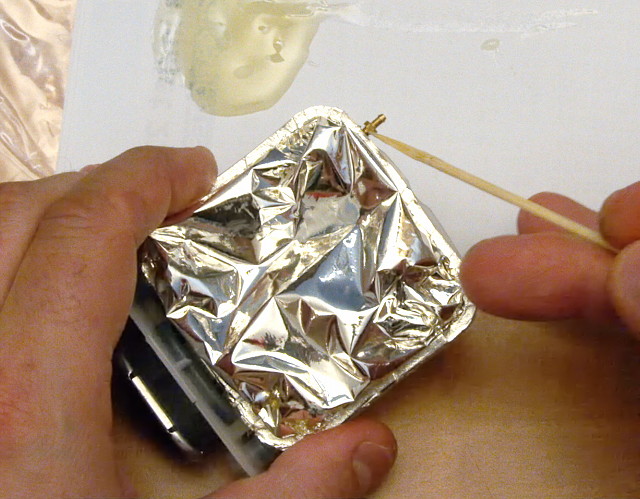
Modifying the stock HP10/11 cartridges
Thread the fitting just far enough that it has a correct start and stays put. Coat epoxy around the still-exposed length of threads.
|
| Sun Mar 29, 2009 8:54 am |
|
|
xiphmont
Clued up
Joined: 28 Mar 2009
Posts: 69
Location: Somerville, MA USA
|
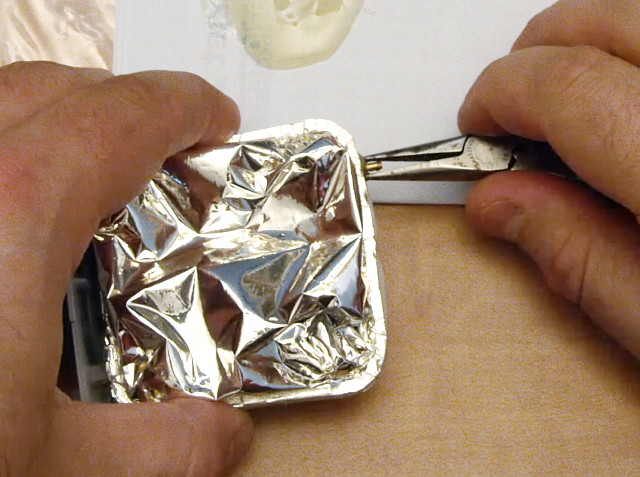
Modifying the stock HP10/11 cartridges
Tighten the fitting down flush to the surface of the cartridge. Don't overtighten. As small as the fittings are and as soft as PP is, there will still be a fairly obvious point where everything is fully tight.
|
| Sun Mar 29, 2009 8:56 am |
|
|
xiphmont
Clued up
Joined: 28 Mar 2009
Posts: 69
Location: Somerville, MA USA
|
Modifying the stock HP10/11 cartridges
Check that epoxy didn't get into the fitting. If it did, clear it with a needle and try blowing a little air in using some tubing. If it re-clogs slightly later, no big deal-- it can be drilled out. But it's much easier to use a needle to break up any big clogs now.
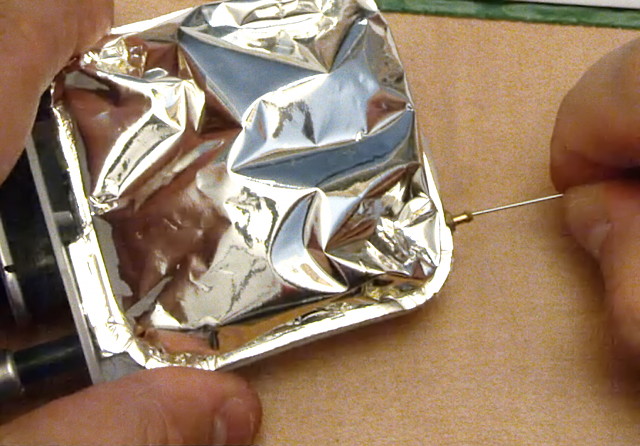
|
| Sun Mar 29, 2009 8:59 am |
|
|
|
|


