| Author |
Message |
xiphmont
Clued up

Joined: 28 Mar 2009
Posts: 69
Location: Somerville, MA USA

|
 Build your own for HP 10 / 11: Pictorial journal
My turn to give back. This project is 100% inspiration gleaned from Continuous Ink.
Like other folks here with HP business inkjet printers, I bought a couple Chinese-made CIS systems and decided they were poorly designed, poorly made, and likely to cause more trouble than they were worth. I wanted something that was as reliable as the original HP carts, used the printer's pump mechanism to maintain ink pressure, and properly shut off the printer when it physically ran out of ink. The only way to get all of this is to build my own starting with actual HP ink catridges.
So, here we go, step by step, as told in pictures. I'm in the process of building now, as I post, so it won't be running for a few days yet! It'll take at least that long for the PP epoxy to fully cure.
|
| Sun Mar 29, 2009 7:25 am |
   |
 |
xiphmont
Clued up

Joined: 28 Mar 2009
Posts: 69
Location: Somerville, MA USA

|
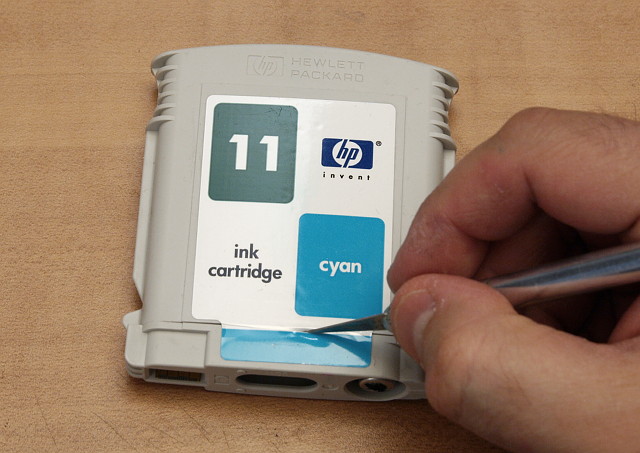
 Anatomy of an HP 10/11 cartridge
cut here to open the cartridge up
|
| Sun Mar 29, 2009 7:26 am |
   |
 |
xiphmont
Clued up

Joined: 28 Mar 2009
Posts: 69
Location: Somerville, MA USA

|
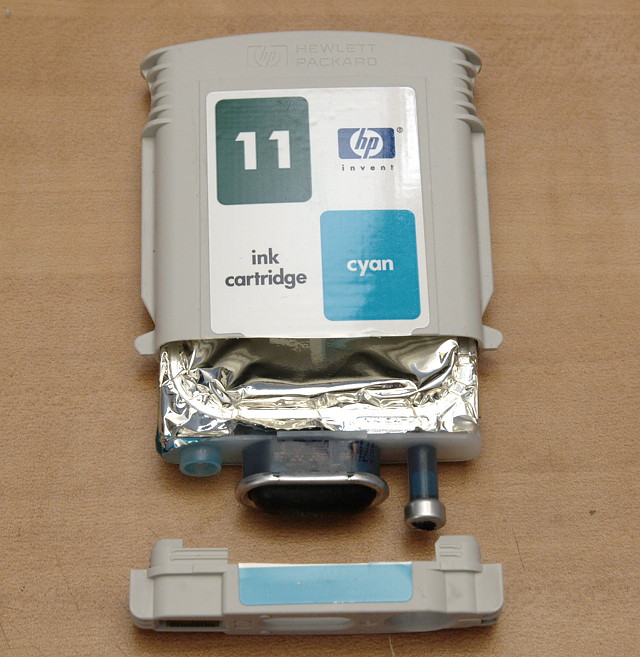
 Anatomy of an HP 10/11 cartridge
The cap pops right off the bottom. Squeeze the cartridge to disengage the tabs holding in the ink pouch, and the whole assembly slides apart.
|
| Sun Mar 29, 2009 7:28 am |
   |
 |
xiphmont
Clued up

Joined: 28 Mar 2009
Posts: 69
Location: Somerville, MA USA

|
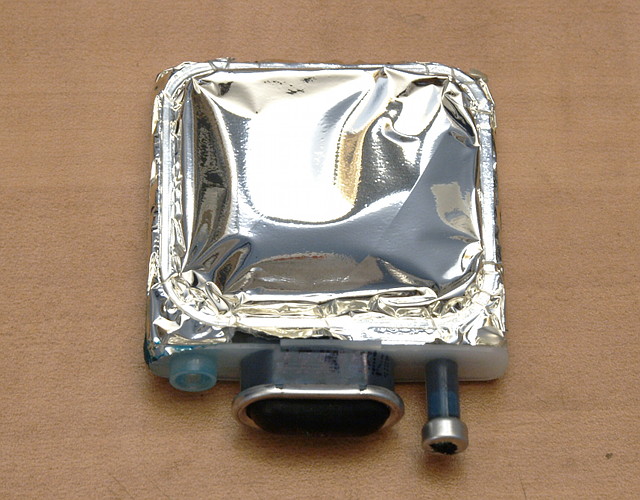
 Anatomy of an HP 10/11 cartridge
The ink pouch in an HP 10/11 cartridge is a small polypropylene frame (some may be polyethylene) with mylar sides heat bonded to either side of the frame. The ink injection port is on the lower left, the center bulb is a 'pump' (more later) and the ink exits out the valve at the lower right.
Last edited by xiphmont on Sun Mar 29, 2009 7:38 am; edited 1 time in total
|
| Sun Mar 29, 2009 7:32 am |
   |
 |
xiphmont
Clued up

Joined: 28 Mar 2009
Posts: 69
Location: Somerville, MA USA

|
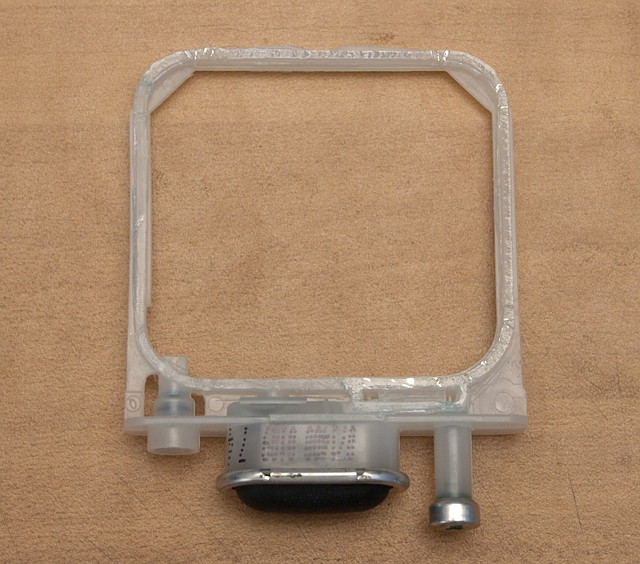
 Anatomy of an HP 10/11 cartridge
Trimming the mylar off (and rinsing all the ink) gives a better view of the frame and the 'working bits'. Don't do this to make your CIS! This is just to show the innards in more detail.
Last edited by xiphmont on Sun Mar 29, 2009 7:39 am; edited 2 times in total
|
| Sun Mar 29, 2009 7:34 am |
   |
 |
xiphmont
Clued up

Joined: 28 Mar 2009
Posts: 69
Location: Somerville, MA USA

|
 Anatomy of an HP 10/11 cartridge
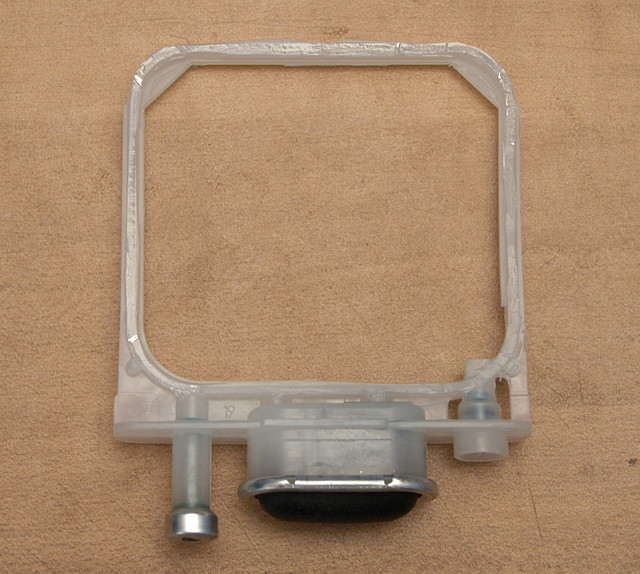
Back view of the frame (not really much to see here).
Last edited by xiphmont on Sun Mar 29, 2009 7:39 am; edited 1 time in total
|
| Sun Mar 29, 2009 7:35 am |
   |
 |
xiphmont
Clued up

Joined: 28 Mar 2009
Posts: 69
Location: Somerville, MA USA

|
 Anatomy of an HP 10/11 cartridge
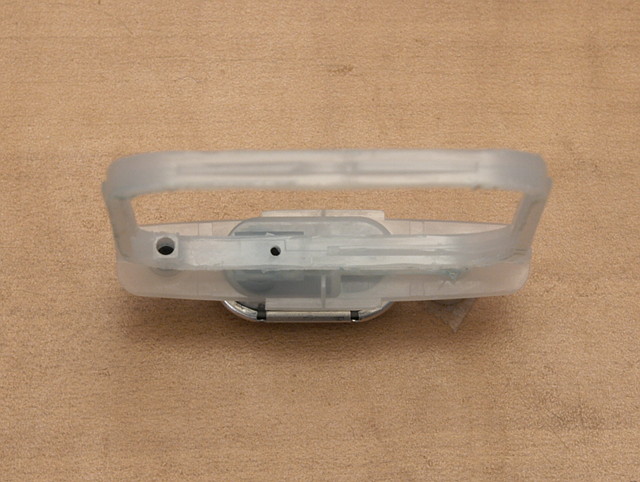
A view of the ports through the frame. The left hole is the ink injection port, the center hole is where the ink is drawn into the little pump.
|
| Sun Mar 29, 2009 7:38 am |
   |
 |
xiphmont
Clued up

Joined: 28 Mar 2009
Posts: 69
Location: Somerville, MA USA

|
 Anatomy of an HP 10/11 cartridge
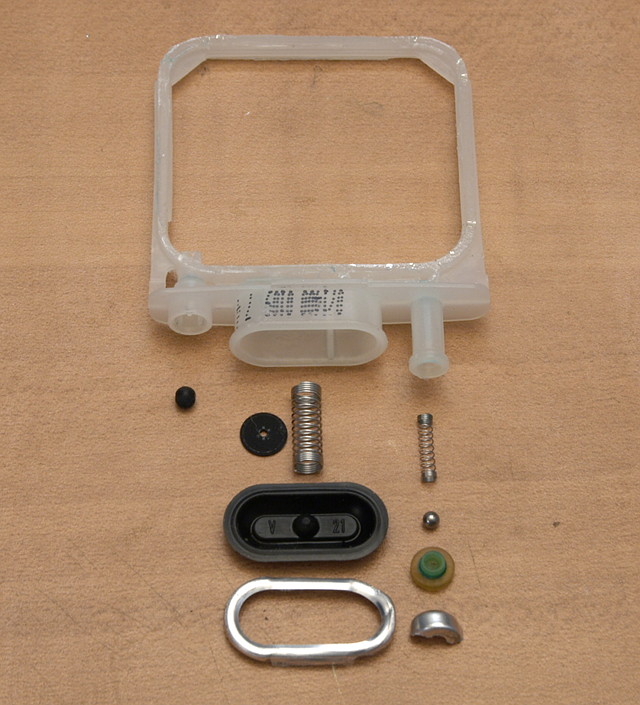
Exploded view of the contruction of the 'working bits' in the frame, including the ink port stopper, the pump, and the ink outlet valve. The only difference between HP 10 and 11 catridges appears to be that the HP 11 carts have a spring and ball bearing in the outlet valve while the HP 10 cartridges merely have a rubber stopper.
|
| Sun Mar 29, 2009 7:41 am |
   |
 |
xiphmont
Clued up

Joined: 28 Mar 2009
Posts: 69
Location: Somerville, MA USA

|
 Anatomy of an HP 10/11 cartridge
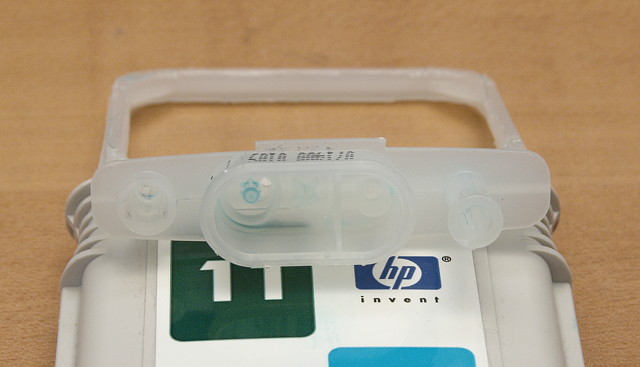
Closeup of the bottom showing the ports, and pump/valve moulding.
|
| Sun Mar 29, 2009 7:43 am |
   |
 |
xiphmont
Clued up

Joined: 28 Mar 2009
Posts: 69
Location: Somerville, MA USA

|
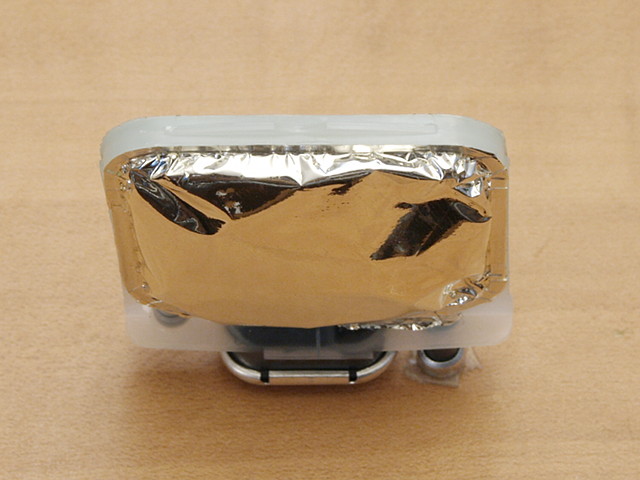
 Modifying the stock HP10/11 cartridges
Trim the edges of the mylar down to the frame with a fresh Xacto knife blade in order to better see what's going on. We'll be drilling into the top. Also, drain any remaining ink by pulling the tiny black rubber stopper out of the ink port using some needlenose pliers, and thoroughly rinse out the inside of the cartridge. Otherwise the drilling step will cause a huge mess....
|
| Sun Mar 29, 2009 8:24 am |
   |
 |
|
|


